DIY Fall Wreath
I came up with this idea while on a walk with Douglas and Kahlua. We were surrounded by all of the fall foliage, and I wanted a way to capture some of it. It is possible that I have seen this done somewhere else, and I apologize in advance if anyone thinks that I stole their idea, but as far as I know I did not.
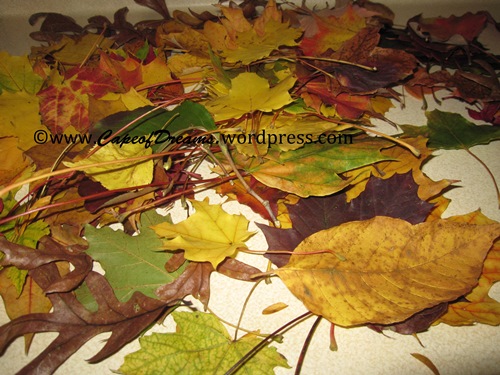
When I was a kid we used to press the leaves in wax paper. This is a popular activity for children. I particularly liked to put crayon shavings in the wax paper with the leaves to make what I called “stained glass”. So, on the walk, I thought that it would be good nice to make a wreath out of leaves that had been preserved in wax paper. I collected so many leaves on the walk that they kept falling out of my hands. Here they are on the kitchen counter.
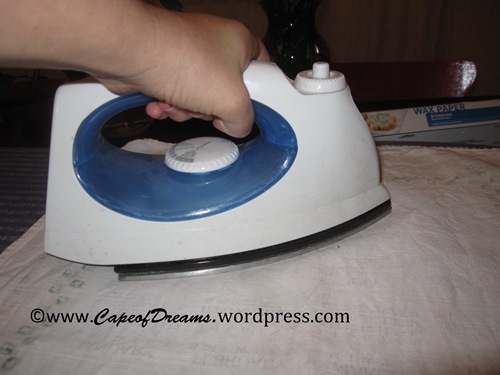
Next, I got out the ironing board and iron. Douglas was sent to the store to procure the wax paper. When he came home, I proceeded to iron, but the wax paper refused to stick to the leaves. I do not know why. Perhaps it was because it was store brand wax paper and not the good stuff? I tried ironing them without the cloth but that did not help.
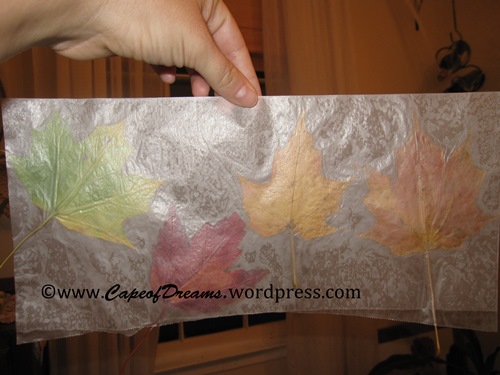
I went online to find out if I was doing something wrong. All of the sites that I found described the project just as I was doing it. However, I did find this video on You Tube. According to this woman, it is possible to take the leaves out of the wax paper after ironing them. The wax will stick to the leaves and preserve them even without the paper. I decided to try it. After many hours of ironing leaves, I had my pile. Luckily, although this step takes a long time, does not require a great deal of thought. I was able to do it while chatting on Skype with my sister and her husband.
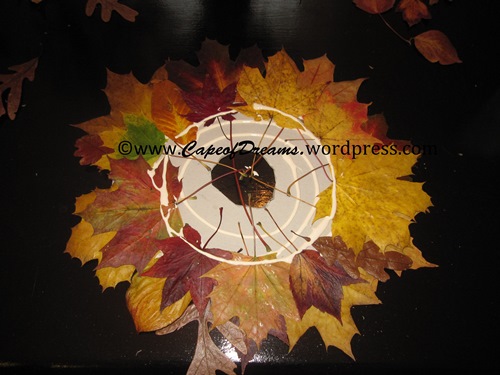
I then cut a circle out of the bottom of a large shoe box. I wish now that I had used heavier cardboard. The wreaths are a couple of weeks old, and they are starting to curl, but they still look great.
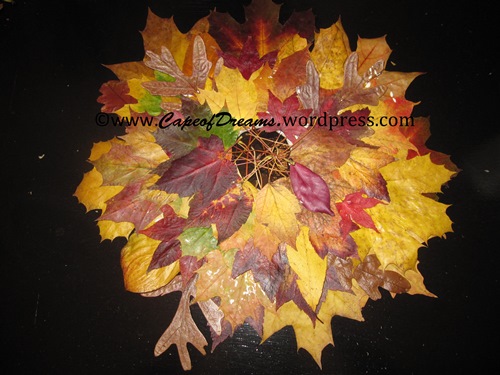
I put a ring of wood glue and a layer of leaves, then another ring of glue and another layer of leaves, and so on and so forth.
I wish that I had used more glue on the first wreath. On the second wreath, I coated the entire circle in glue and then kept putting glue on top of the leaves on the bottom layers.
Here are the finished wreaths. It only took me about twenty minutes to make the wreaths once I had finished ironing all of the leaves. I put them on the kitchen counter to dry and put heavy objects on top of them to help them to stick better.
When I finished, I had some left over leaves. I put them in a cut glass bowl that I found in the trash last spring. Then, I decided that they would look even better with some little gourds.
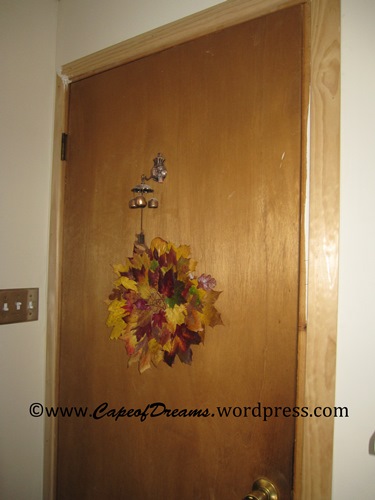
When the wreaths were dry, I hung one in the dining room window and one on the door in the living room. This does remind me that we need to paint that door! The bells on the door came from my trip to South Korea. I hang bells on my doors so that I can easily hear when someone goes in or out. It used to make me feel more secure when I lived alone, and I still appreciate it when I am in the house by myself.
Overall, I am very pleased with my fall decor, and the wreaths in particular. I do not know how long they will last, but I will enjoy them while they do!
Happy Homemaking!










So pretty! You really got some beautiful leaves on your walk. Mother Nature is fabulous… and so is this project. As for the wax paper, it seems anything I try that is “suppose” to go a certain way.. never does. HA HA! You pulled it off beautifully. It’s definitely FALL at your house.
Fall was always my favorite season, so this makes me happy. I love when all the trees change color, and it is nice to have some of that color reflected in the house.
i can’t believe how beautiful these turned out! now if only i had leaves here in oklahoma. 🙂
Thank you. Now you can add just one more reason to move to NY! 😉